
Make Our Own Wooden Ornaments
With your favorite cutting machine and free svg file.
If you are creative and like to make unique gifts you are in the right place. You can create these beautiful wooden ornaments cheaply with leftover paint you already have and vinyl scraps.If you have not done it yet, download this snowflake design. They will become the easiest gifts or your household decoration you ever made. Lets get crafting!
Also, you are welcome to check out these other designs which works great as wooden ornaments: Small Animal Christmas Ornaments, Slavic Folk Ornaments.

WHAT YOU NEED FOR THIS PROJECT:
Wooden round (you can get them your local craft supply store in various diameter)
Drill to make hole or small screw eye (available in hardware store)
Acrylic paint
Clear varnish
Paintbrush
Cutting devices: scissors, X-Acto knife
Cricut weeding tool
Cricut Explorer (or your favorite cutting machine) with cutting mat
Vinyl (strong bond) ( color of your choice)
Cricut transfer tape
Rope or ribbon
STEP BY STEP HOW TO MAKE ORNAMENTS:

1. Get all the supplies ready. You can buy all your supplies at your local craft store or use whatever you may have a home, if it is suitable for your project. I have used left over paint and vinyl from my previous projects. I have made my wooden rounds from a branch in our backyard trees. My husband helped me to cut several slices off, which I sanded and baked in 200°F oven for about 3 hours. But you can easily find one at any craft store.

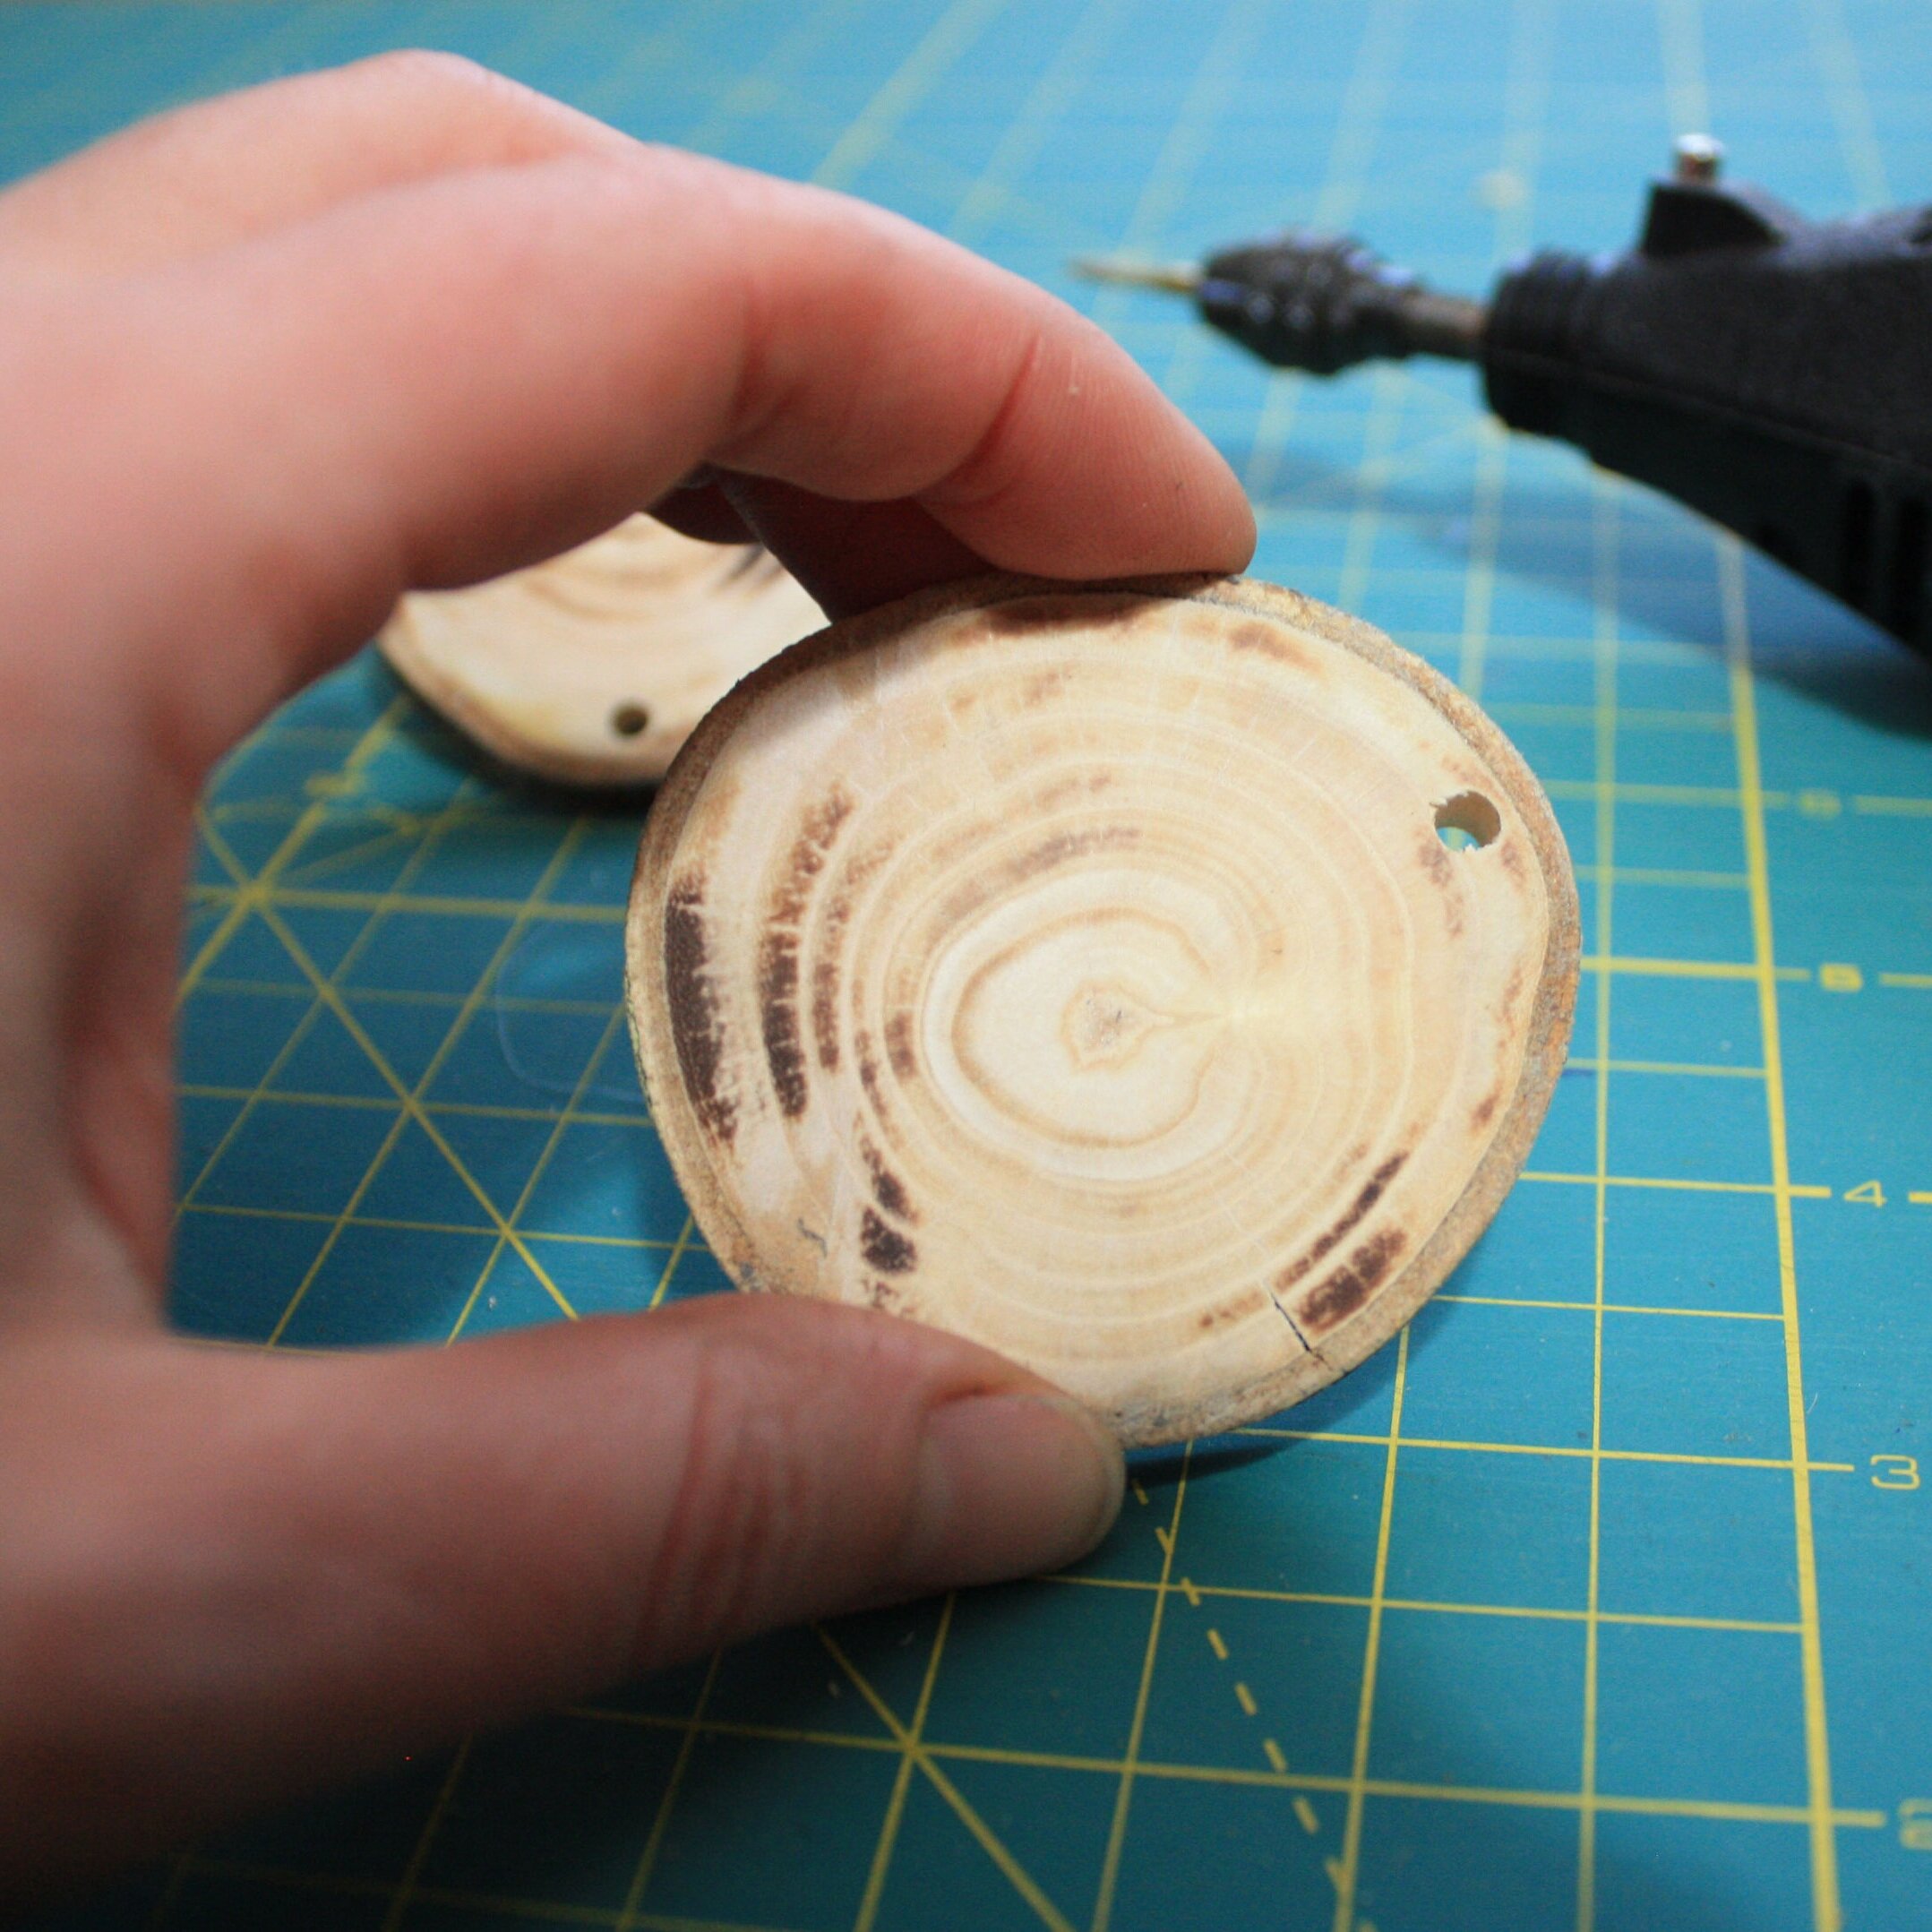
2. Drill a small hole or use a small screw eye. When you buy wooden rounds at craft store they might be without a hole. You can use Dremel or standard drill with a small bit attachment to drill a small hole on top of your round. Also a small screw eye works well, which you can find at any hardware store. If you don’t have a drill, just use a hot glue gun and create a eye on back of your round with a rope or decorative ribbon.

3. Paint the wooden round with acrylic paint and let it dry. It drys fast! Choose your color. It takes just a dap of paint to cover the whole wooden round. Since acrylic paint is thick, it is easily spread and you can create a nice edge around the wood. While the paint is drying wash your brush. Your wooden round is ready to be embellished.
TIP: If you have added to much paint to your wooden round you can clean your brush by opening the paint container and wipe off access paint. Go slowly around the edges to get precise edge. I like to leave little bit of wood exposed, but the design is up to you.
4. Get ready to Cut! Find more detail instructions on how to UPLOAD DOWNLOADED IMAGE IN TO CRICUT DESIGN SPACE. Double check your wooden ornament dimensions and size your artwork in Cricut design space accordingly. Prepare your mat and vinyl to be ready to cut. Check you Circut settings.
TIP: I have used metallic/glitter permanent vinyl on “vinyl” setting. Since the vinyl have slight texture, the best result I had when I cut it twice. Instead of unloading the image I have presses “C” button again.


5. Weed the artwork. This design is simple and easy to weed.
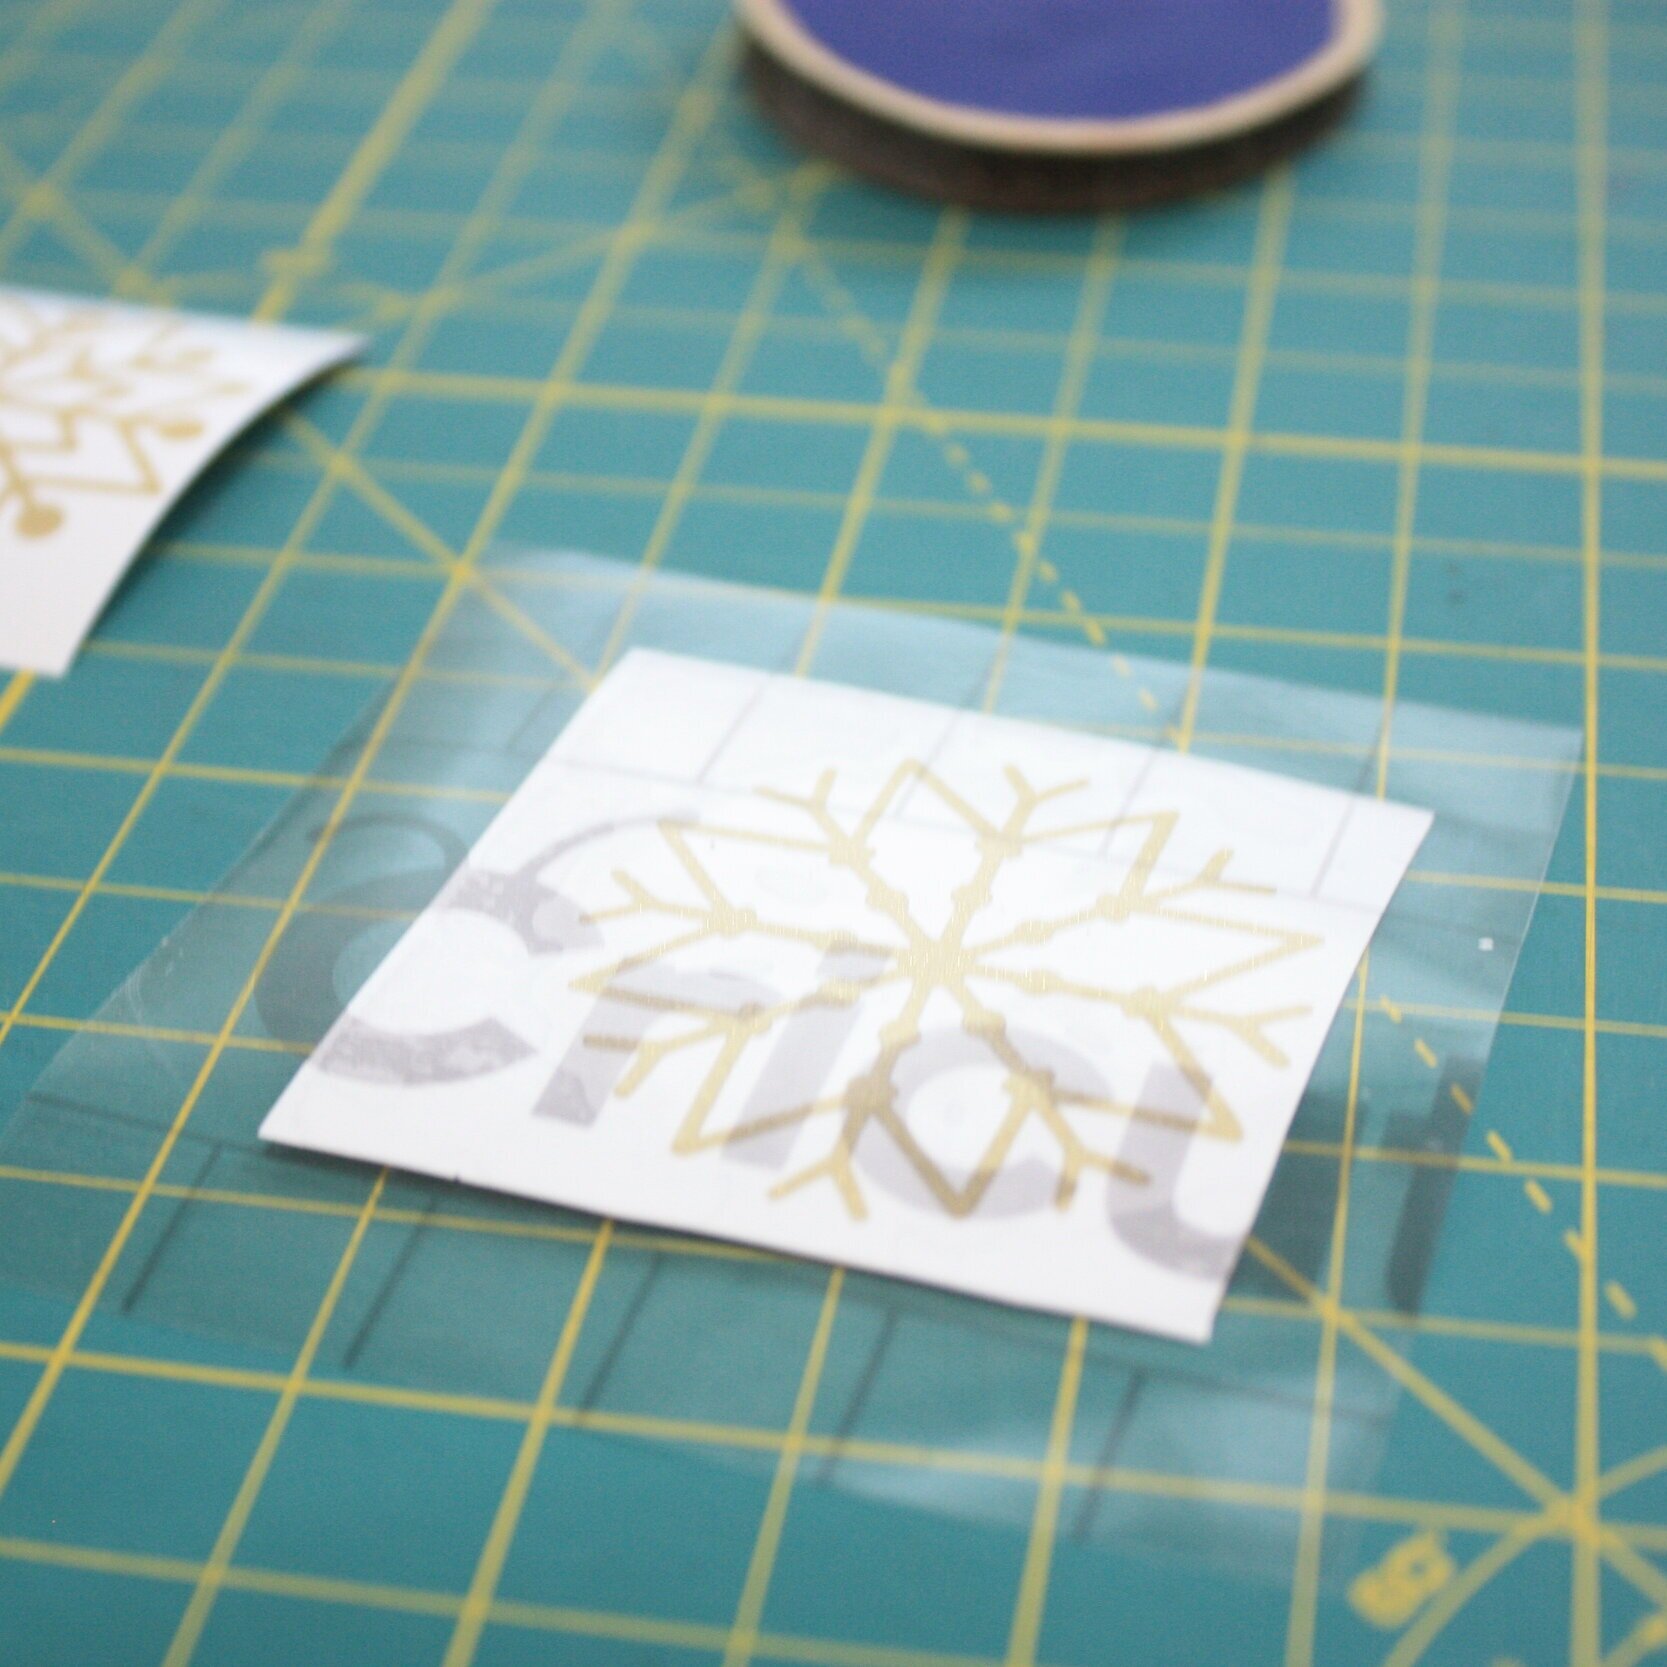

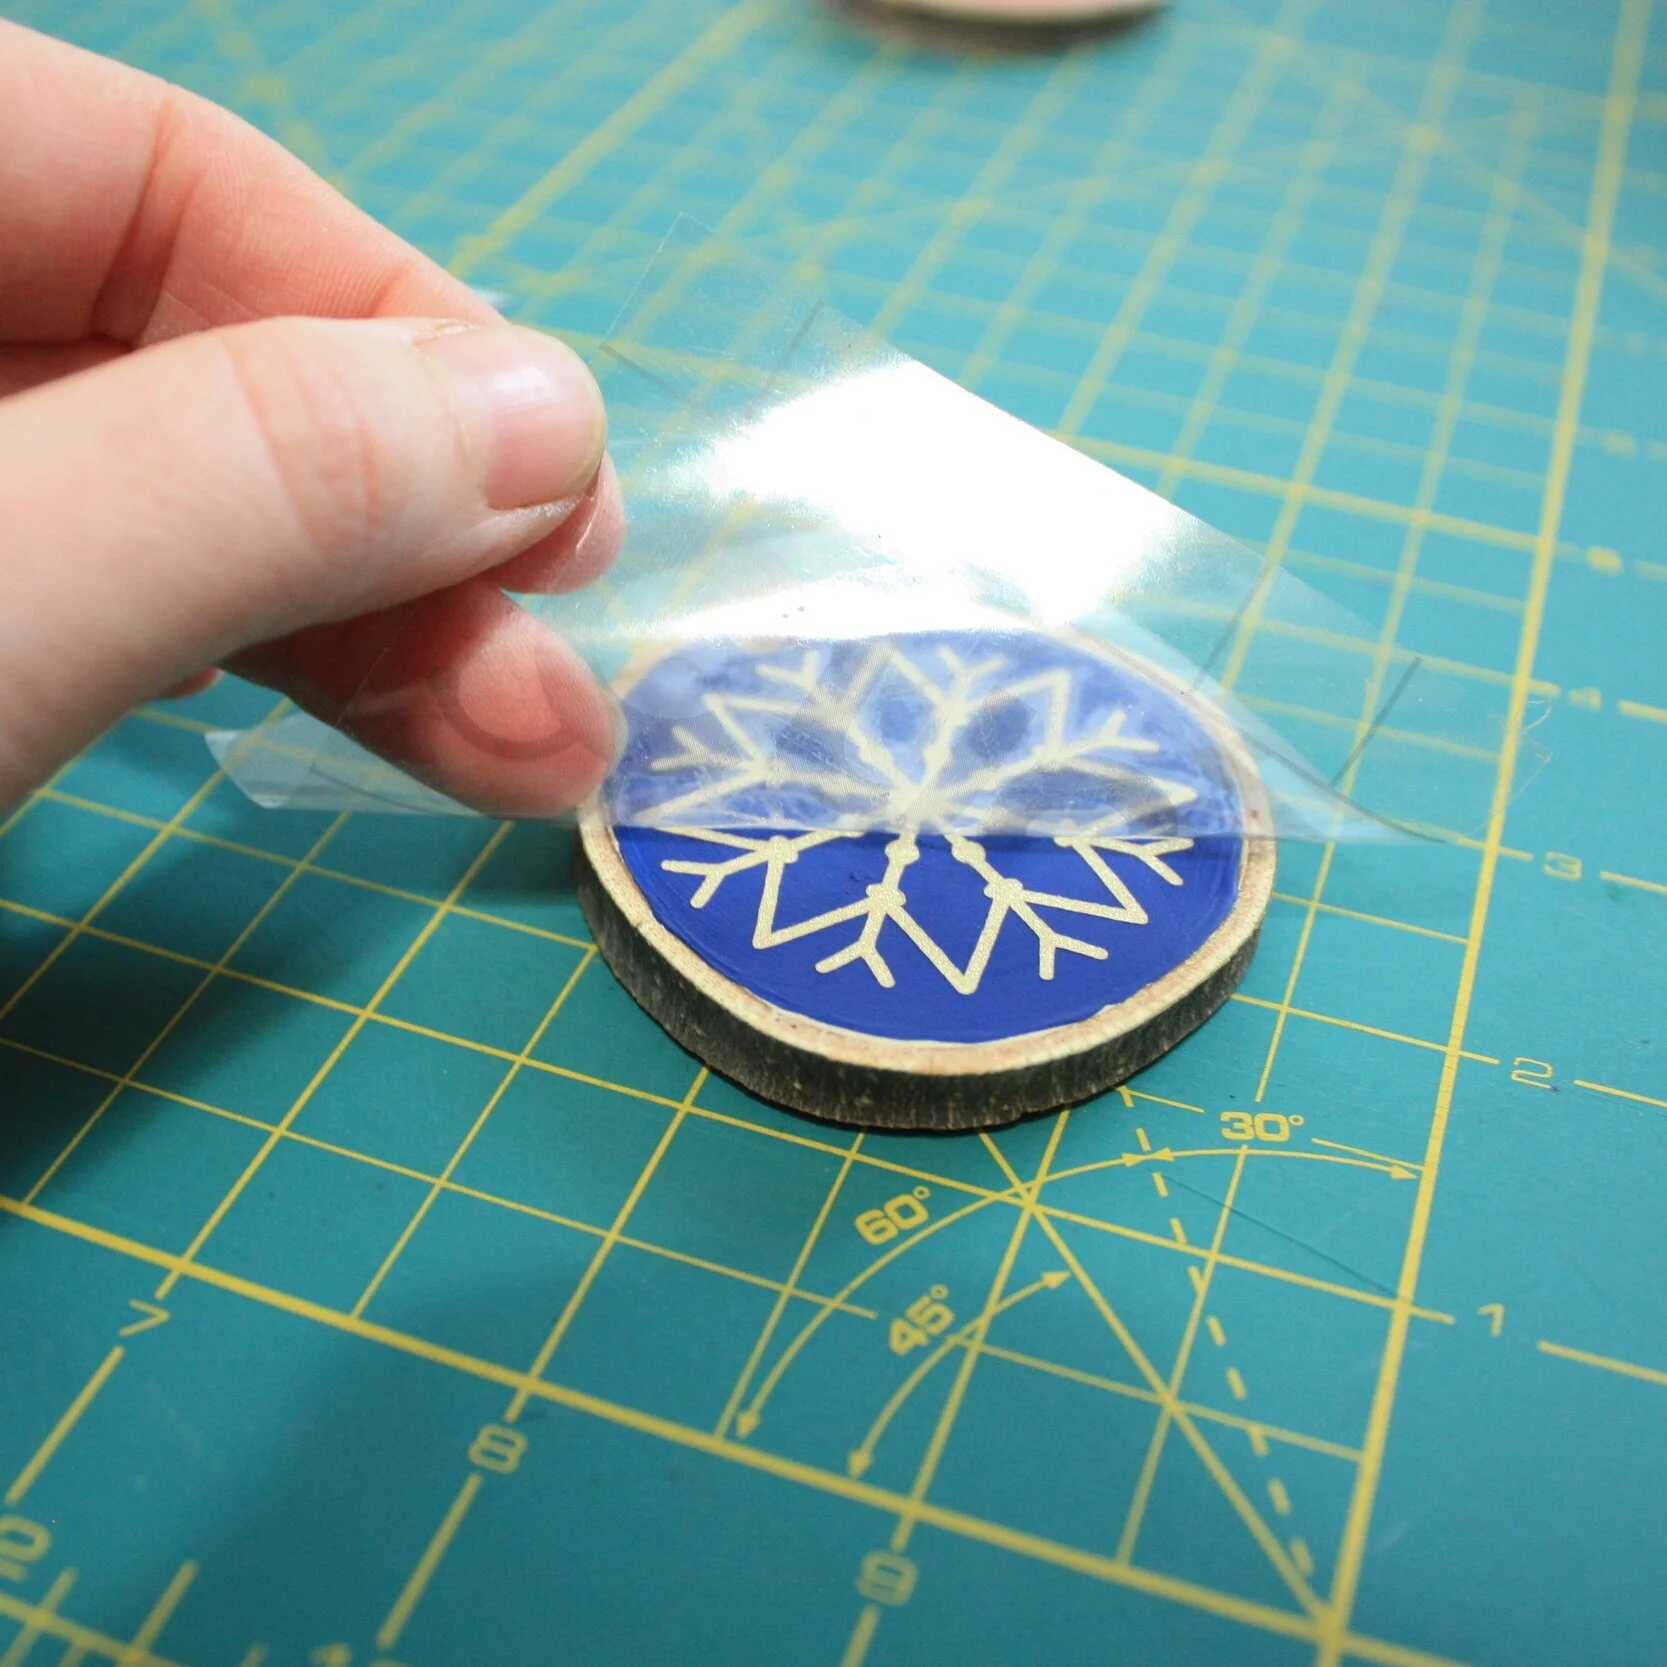
6. By using Cricut transfer tape to transfer your artwork. Place transfer tape on now cut and weeded vinyl and press firmly. If the vinyl is ready it will stick to the transfer tape and peel with it. Place transfer tape with the artwork on your painted wooden round and again press firmly until the artwork sticks to the wooden surface and the transfer tape peels off clear.
TIP: If you do multiple ornaments you can reuse the tape over again.

7. Seal the vinyl and paint with one or two coat of clear varnish. Let it dry! You are almost done. The finishing touch is the rope or your favorite ribbon to decorate and complete your ornament. And enjoy!

I hope you have enjoyed this tutorial and made not only one, but bunch of these ornaments. They make a great decoration and for sure warm up everyone’s hearts when you have given a handmade gift. If you like this tutorial please visit again. I will be adding every week new free SVG files or DIY projects. Thank you. Happy crafting!